Be yourself; Everyone else is already taken.
— Oscar Wilde.
This is the first post on my new blog. I’m just getting this new blog going, so stay tuned for more. Subscribe below to get notified when I post new updates.
Be yourself; Everyone else is already taken.
— Oscar Wilde.
This is the first post on my new blog. I’m just getting this new blog going, so stay tuned for more. Subscribe below to get notified when I post new updates.
This week i finished soldering and tested the electronics. We used the same soldering equipment as last week but for testing the electronics we used an amplifier and a tuning fork. if the electronics worked it made a consistent sound. I learned that we could test the tone knob because the tuning fork makes perfect tone.


This week I started soldering the electronics. First we learned about the electric circuit for the guitar. then we planned it out with a diagram and then got to the good stuff. We used the thin solder wire and made a puddle on the potentiometer. We had to tin the wires before we soldered them into the puddles. we are still in the process of finishing the soldering next week. Tools used were a soldering gun, wires, wire strippers, and sponge to clean the tip. I learned how to use a soldering gun and how to get the wire to melt and learned about circuitry.
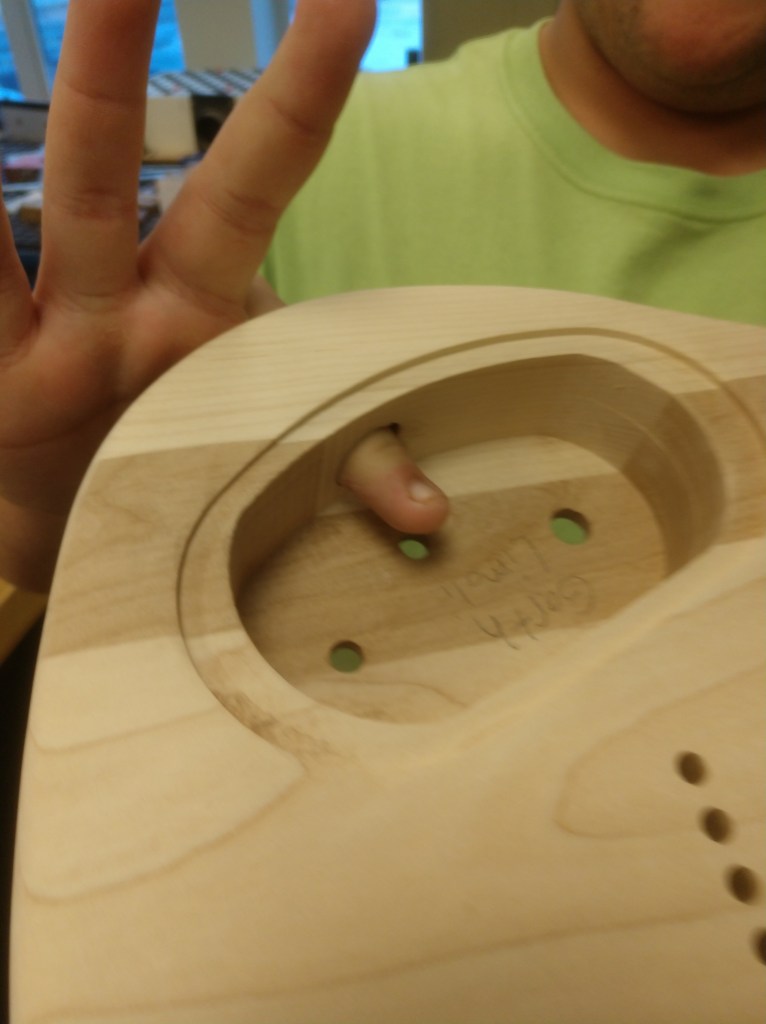
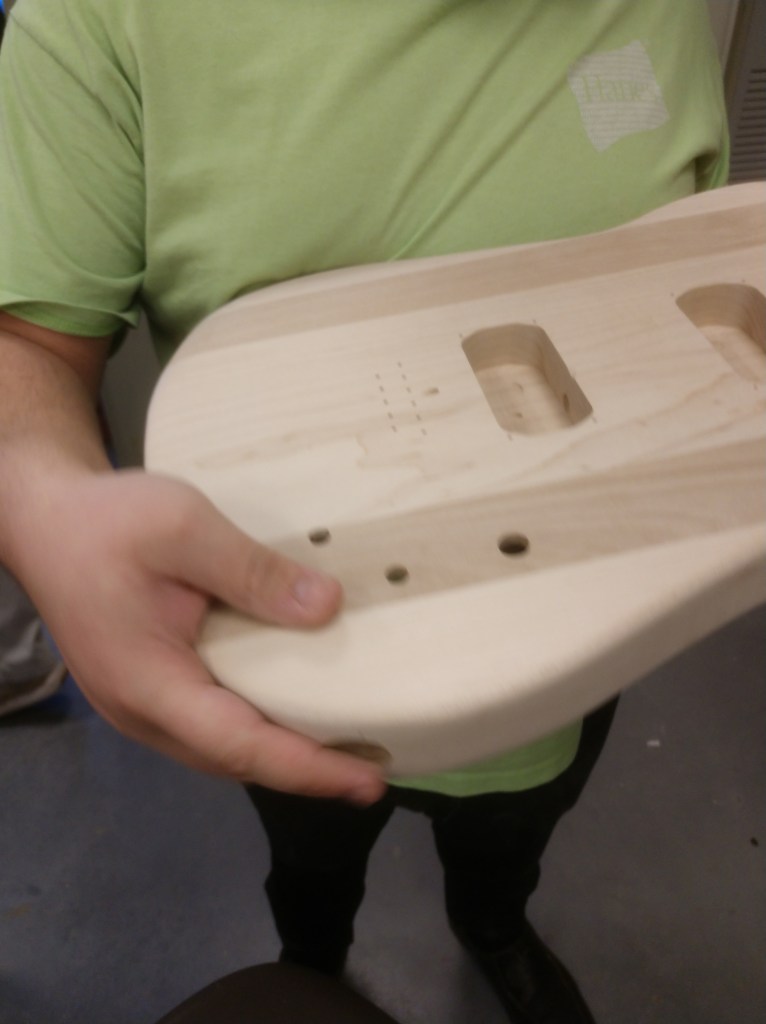
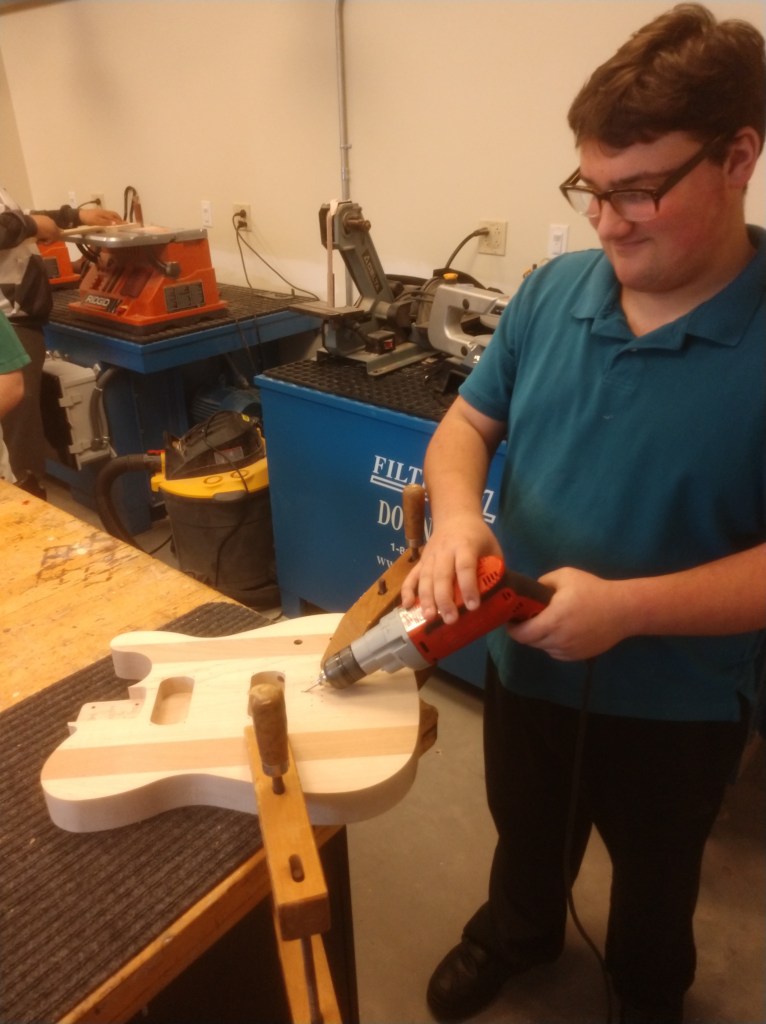
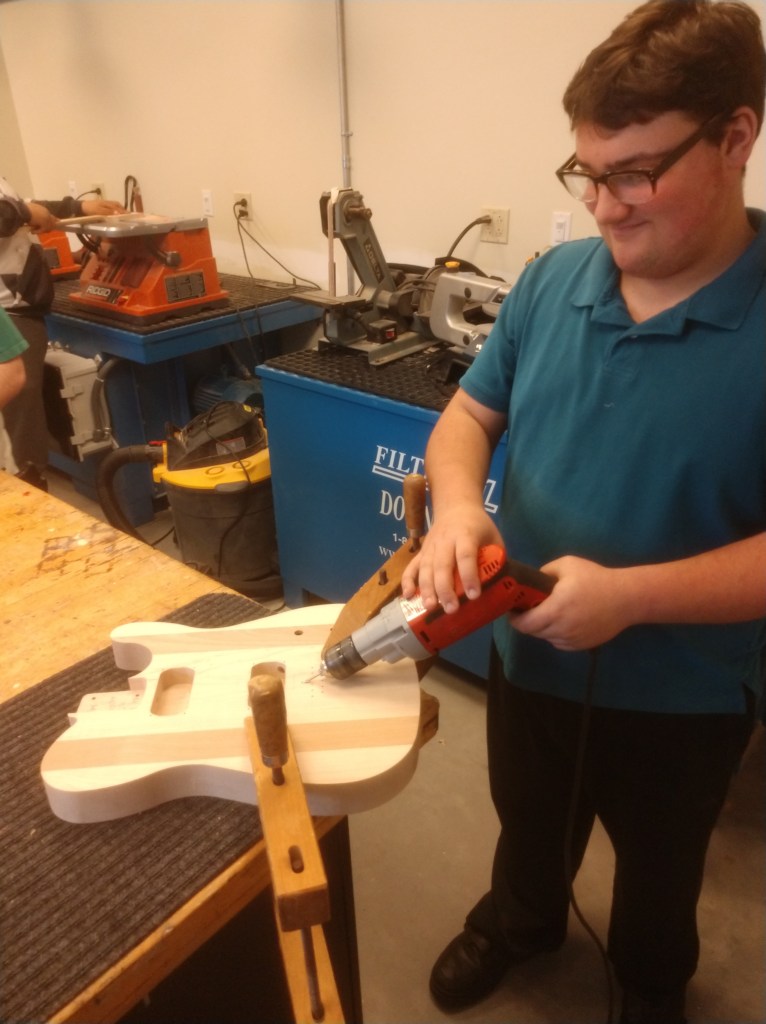
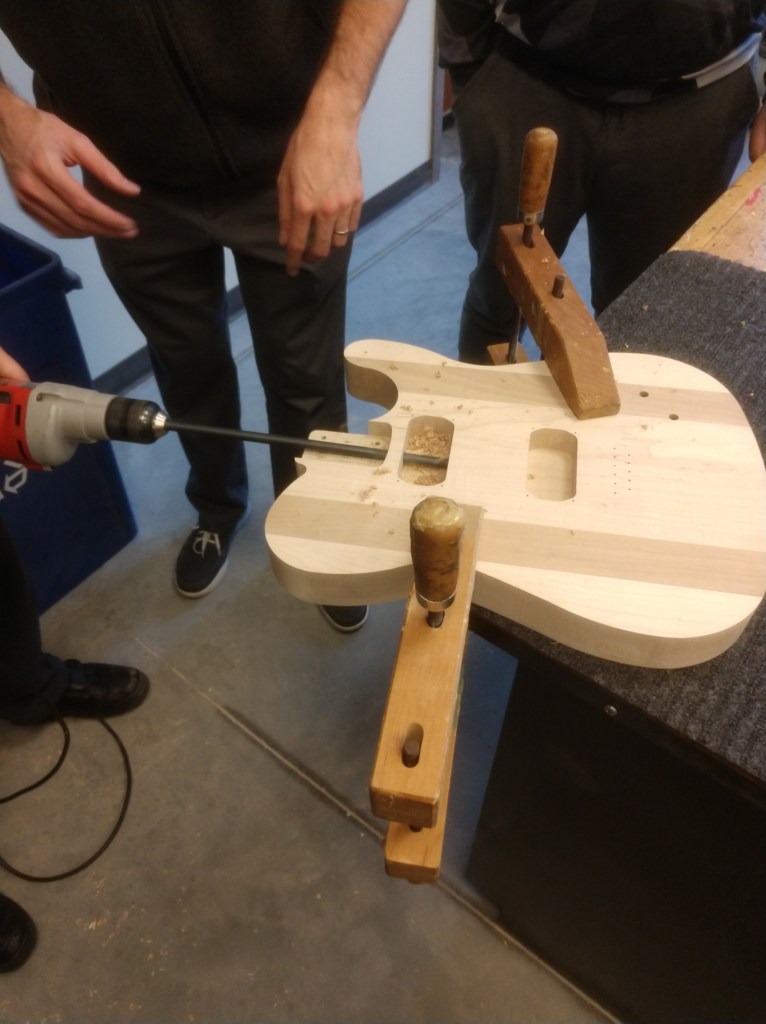
This week we drilled the hole for the input jack. We also fit the cover plate on the back of the guitar. And finally we learned about and tested our electronics. We use a voltmeter to test the output of our volume knob.
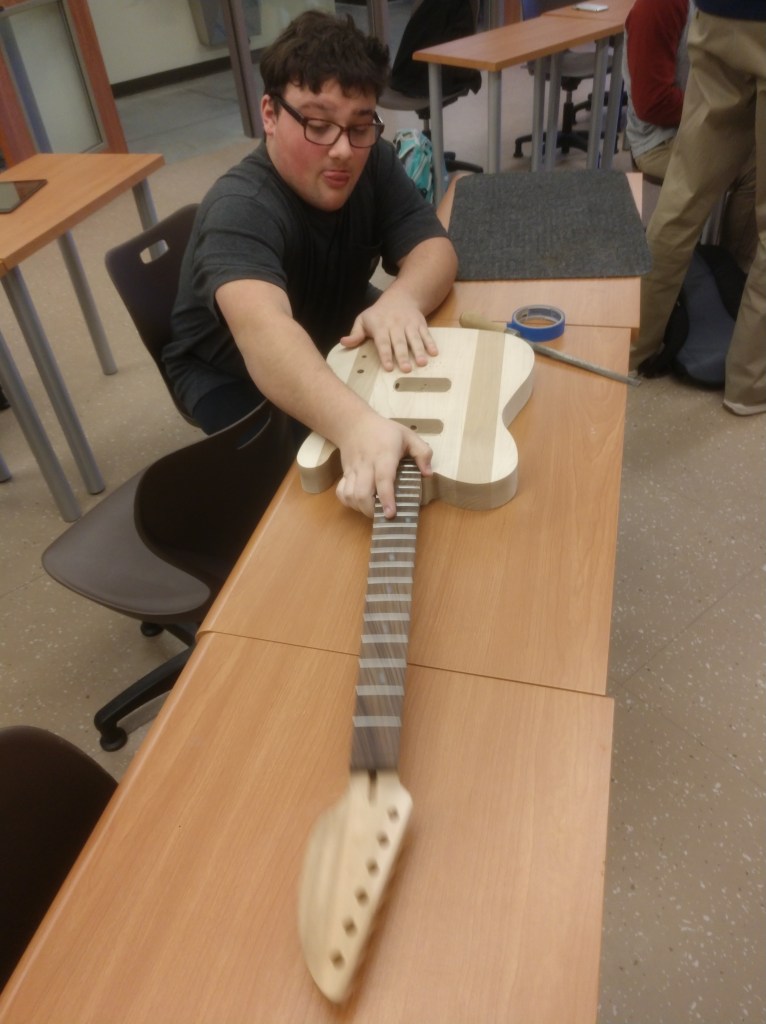
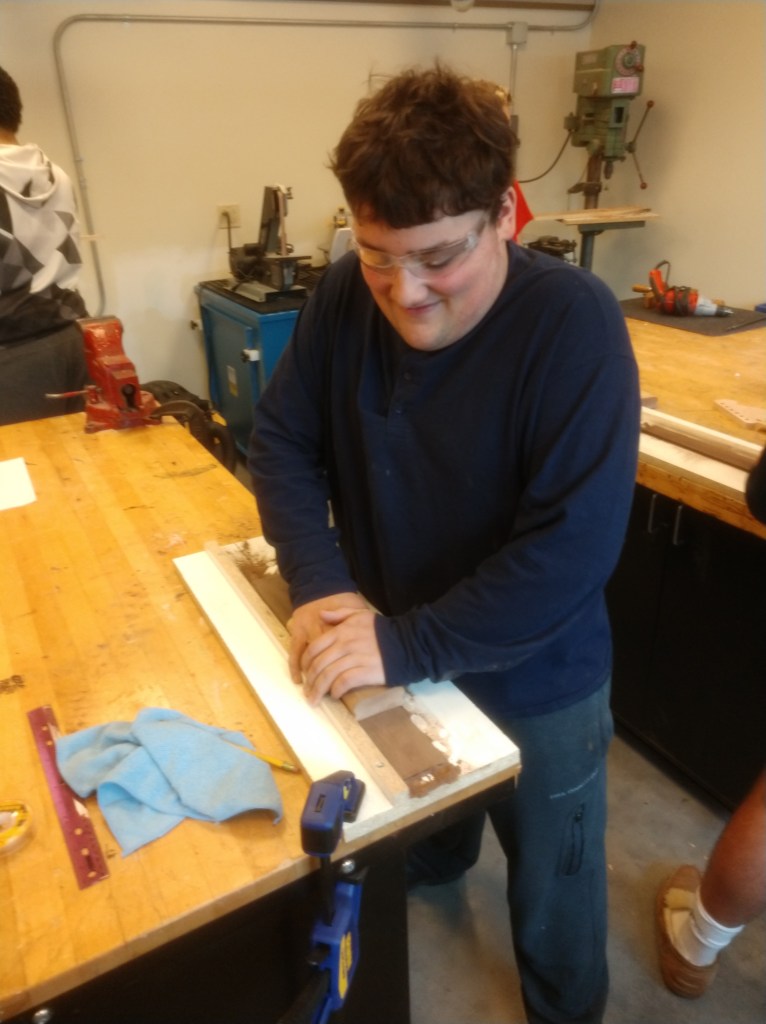
This week I continued to work on the body of the guitar. I used the orbital sander to smooth out face section of the guitar body and filed the backside.
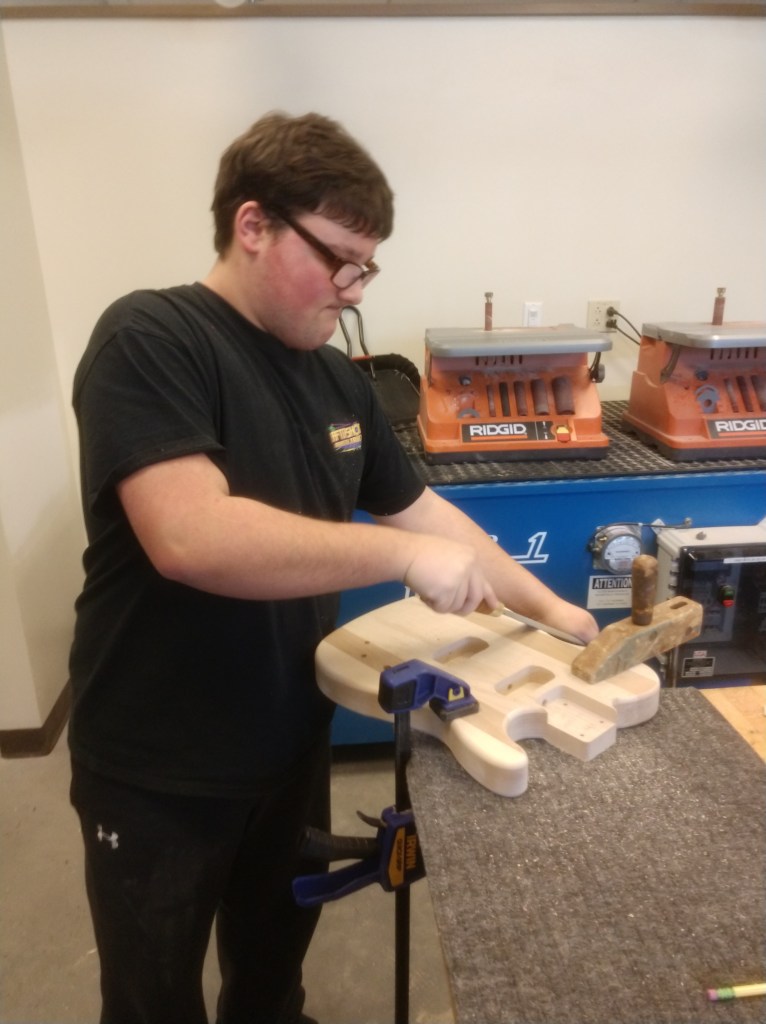
This week I started to shape the guitar body. I used the router table to curve the shoulder and used a coarse file to profile the body. This week I learned how to use a router table and found out that it is loud and vibrates your whole body.
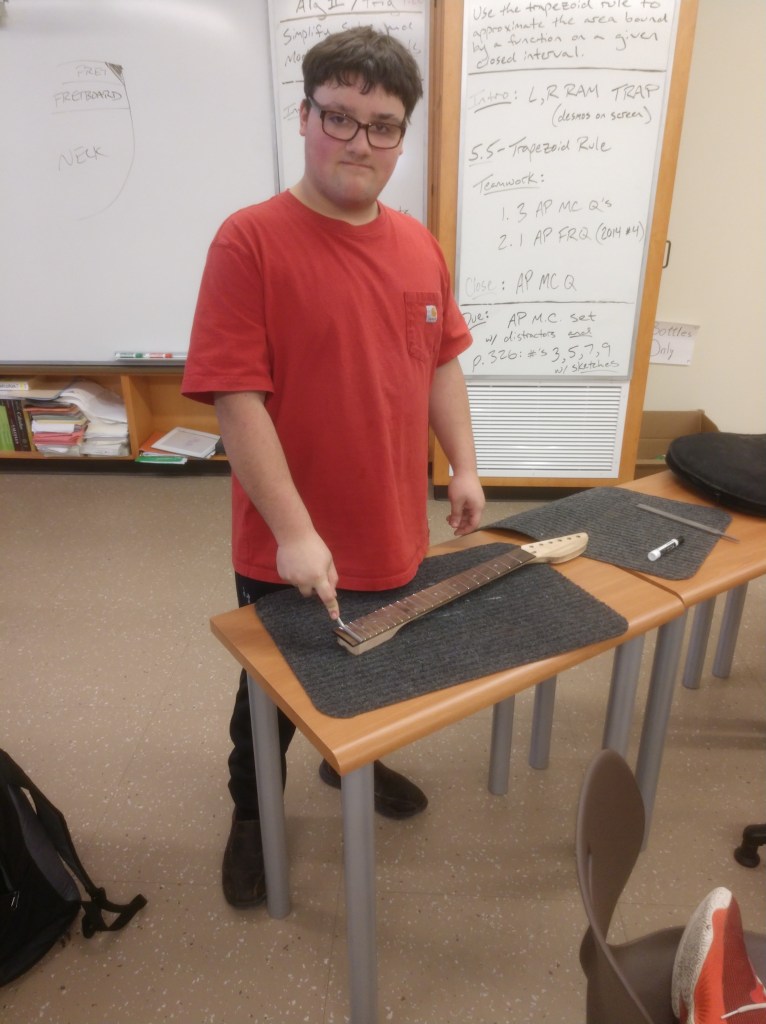
This week I leveled and sanded the frets. I used a re-crown file from 150 to 300 grit. that was a new process that I learned.
This week I bent, cut, and pressed fret wire into the guitar. Tools I used were a fret wire bender, and a fret presser. I learned how to bend the frets and install them.


This week we added side fret dots and sanded the back of the neck and sanded the fret board. The neck we sanded like we were shinning shoes. We also had to smooth the transition with files and hand sanding. the fret board was smoothed by 600, 1000, 1500, 2000 grit sandpaper.
I learned how to file a transition, and how to use the shoe shine method of sanding a rounded object like the neck.
Tools used this week was sandpaper, a hand drill with a drill bit.
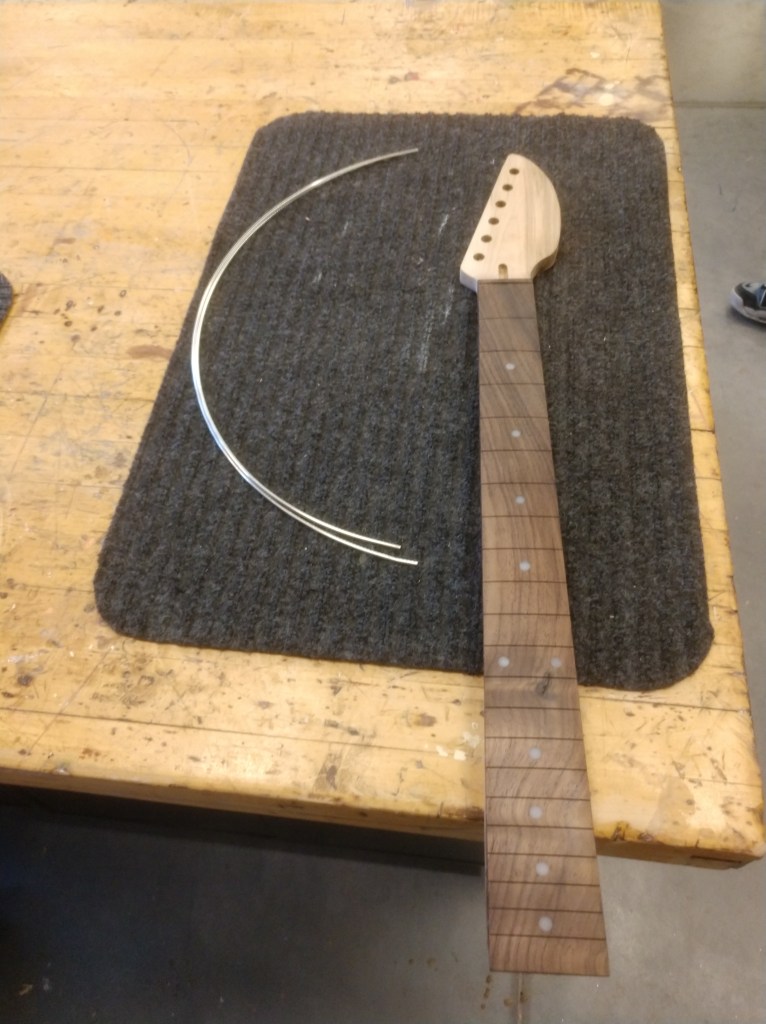
This week we set up the neck of the guitar. We added fret dots, inserted the truss rod, and glued the fret board to the neck. We used the drill press to drill the holes in the fret board and glued the dots in with super glue and cut off the excess with flat saw. the fret board was glued with wood glue and clamped together with rubber bands. I learned how to glue a fret board.
This week we did a lot. We sanded the fret board with 120 grit sandpaper with a 12 inch radius. And we drilled the holes for the electronics. I learned this week the fret board is not flat but rounded at a 12 inch radius.
